Sending Secure Email with Proofpoint
There are two methods that can be used to send an encrypted email with Proofpoint - using the Outlook Plug-In or by using a keyword in the subject line. We will review both methods below.
1.) Subject Line Keyword
1.
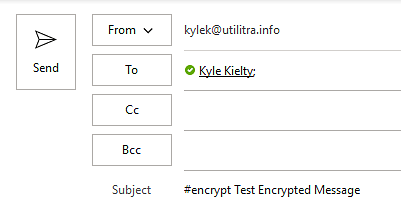
Place the keyword #encrypt in the Subject line of the email. It is not case sensitive so any variation will work (e.g. #encrypt, #Encrypt, #ENCRYPT).
_2020-06-08_11.30.29.png)
2.
Complete the email body as normal and select Send.
3.
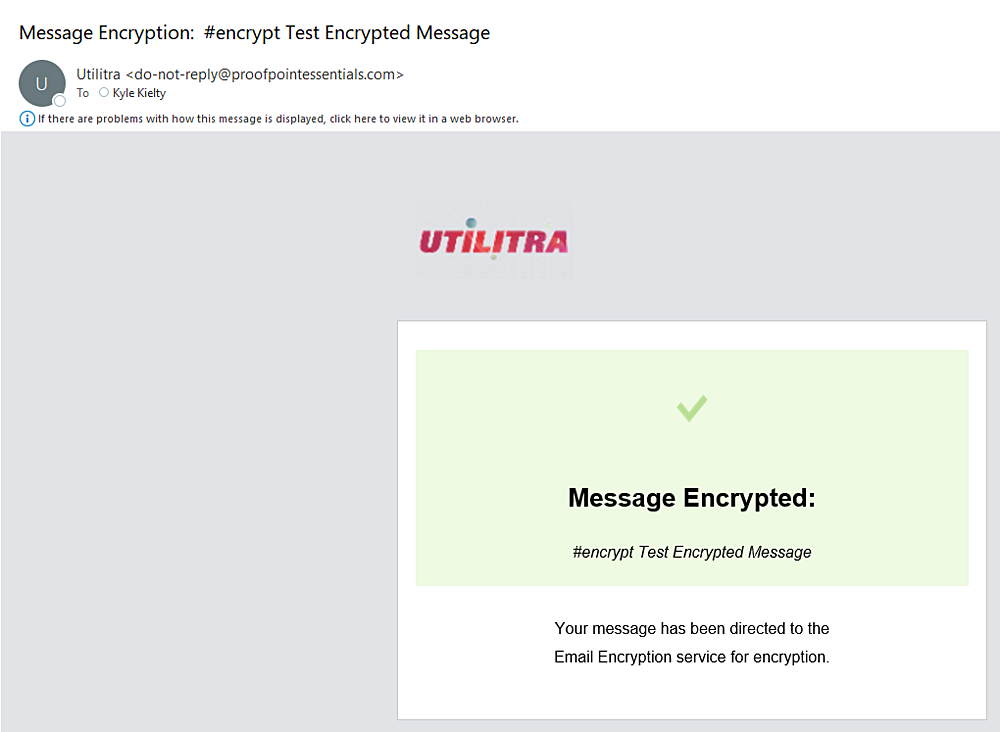
You will receive a confirmation email from Proofpoint once the email has passed through their system and encryption has been applied. Your business logo will appear here.

2.) Outlook Plug-In
1.
Plug-In download links:
2.
Installing the Outlook Plug-In
- BEFORE INSTALLATION: Please make sure Outlook is closed out prior to the install.
- From where you downloaded the installation file, double-click to start the installation.
- Click Run on the security warning if it pops up.
- Click Next on the Proofpoint Encryption Plug-in for Microsoft Outlook Set-up screen.
- Check the box for the license agreement and click Next.
- Click Next to install in the default folder or click Change to select another location.
- Click Next.
- Click Install.
- Click Finish when the installation has completed.
3.
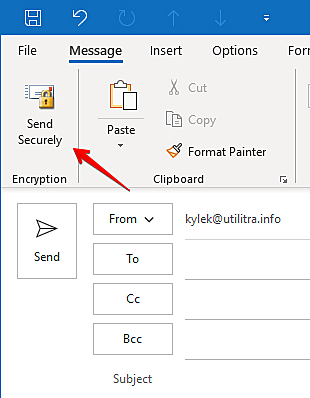
Verify Plug-In Installation
- Launch Outlook.
- Compose a new message.
- Look for the Send Securely button in the message composition window.
_2020-06-08_12.07.44.png)
4.
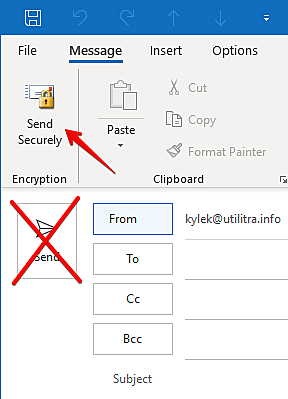
Utilizing the Plug-In
Now when you wish to send an encrypted message select the Send Securely button instead of the normal Send button and your message will be routed through Proofpoint's encryption service.
_2020-06-08_12.11.15.png)
Recipient Registration
1.
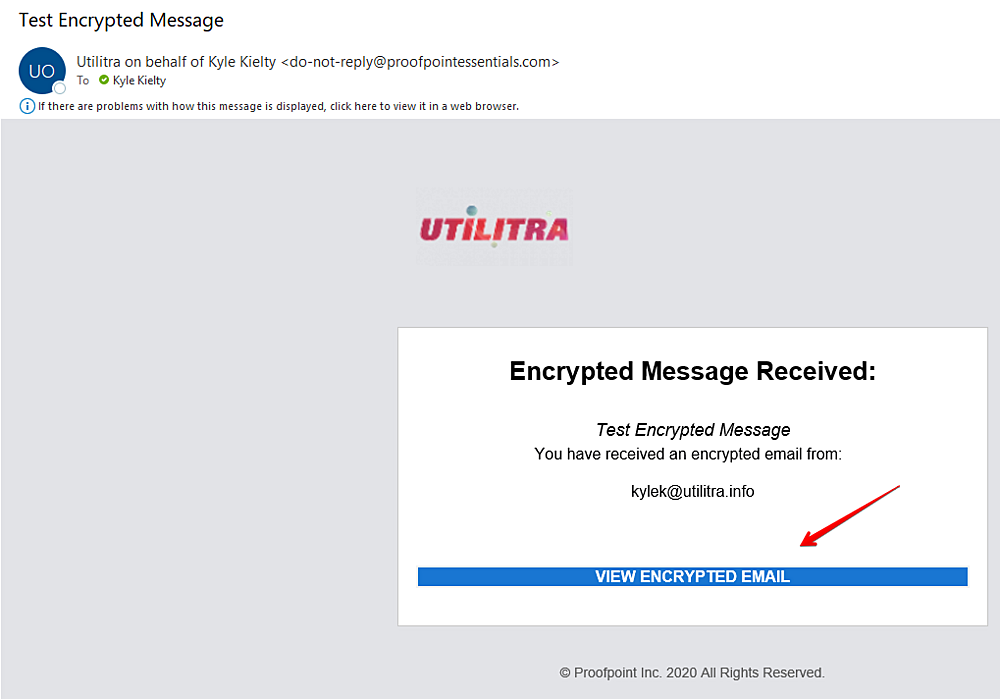
The recipient will receive a link with the option to VIEW ENCRYPTED EMAIL.

2.

Once they select the link they will be directed to Proofpoint where they will enter their email address and select CONTINUE.

3.
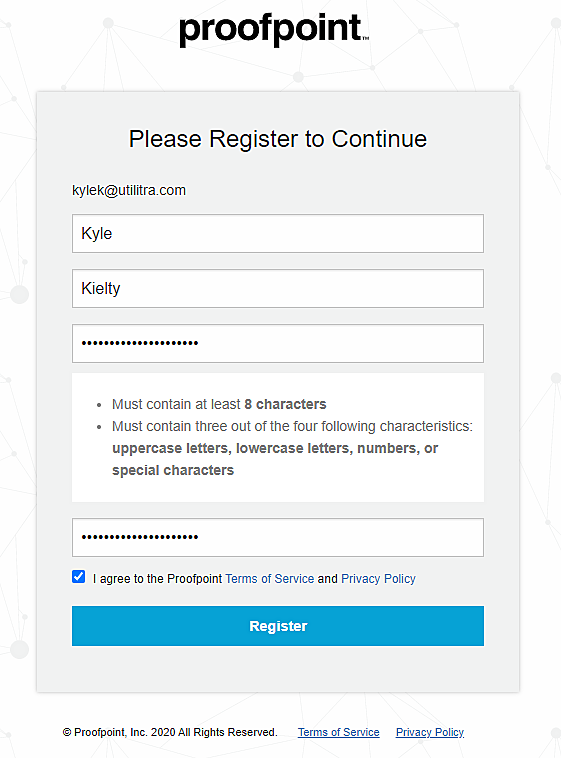
If they have not created an account with Proofpoint previously they will be directed to the registration page where they will complete the registration form and select REGISTER.
.png)
4.
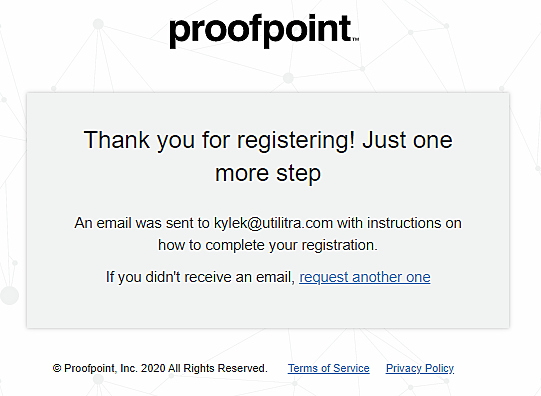
If successful they will be notified a confirmation email was sent to them to confirm their email address.

5.
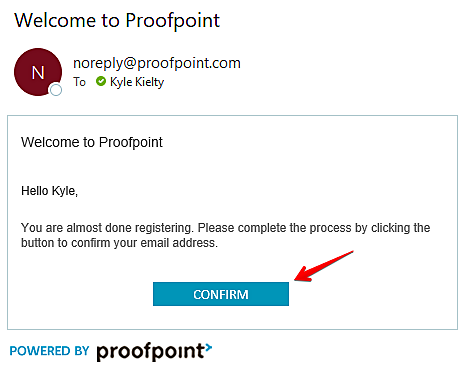
After the recipient selects CONFIRM on the confirmation email they will be directed to a screen that will show Registration Successful. From here they can select Continue logging in, enter the credentials for their newly created account and select Sign in.


6.
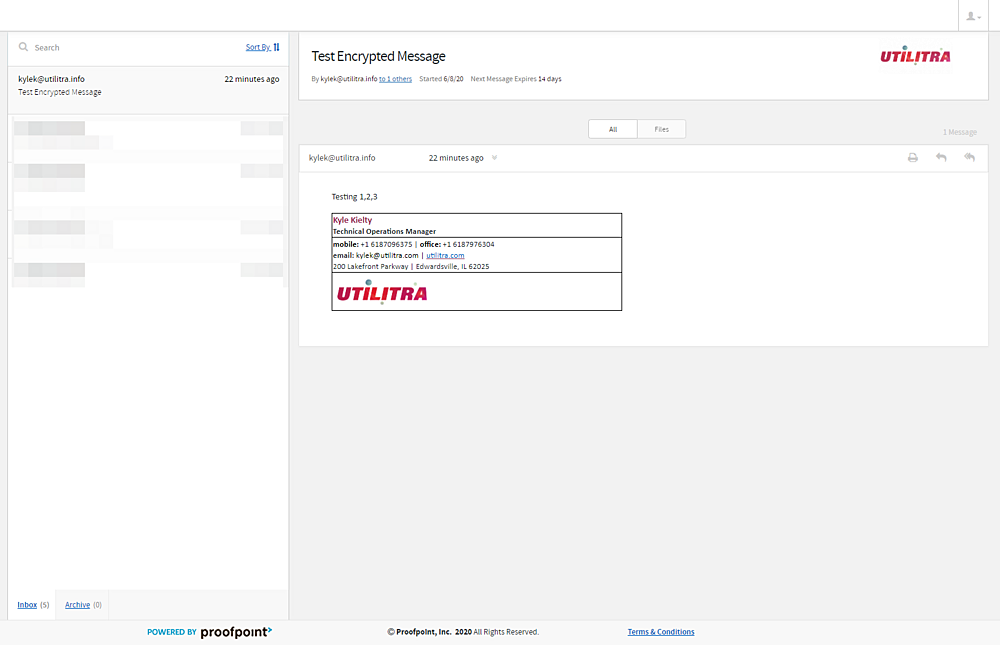
Once logged in the recipient will be able to view sent messages, download sent files, and respond all from Proofpoint's encrypted portal.

